Select circuits from the list on the left side and place them on the work panel.
To connect click on an output of a circuit (right side) and draw the wire to an input of a circuit. Hold down shift while clicking somewhere on a wire to connect a new wire to this point.
Circuits and Wires can be activated by clicking on them and then deleted with the DEL key.
You can change settings on some circuts (clock, MonoFlop, LCD, TextLabel) by selecting "Properties" in their
context-menus.
It is possible to change the number of inputs for some circuits (AND, OR, XOR, etc) with combo box below the circuits list. These circuits act as they were connected like this:


With the "input inverter" you can invert the level of a wire at the input of a circuit. To place the inverter, select it from the list and click on a circuit input.
An input can be set to a defined level by using "input high" and "input low", without having to connect a wire to it.
To reset an input to normal behaviour, use "normal input" on it.
A module contains a complete LogicSim circuit system that can be used as a single circuit element.
Select "Create Module" from the "Module" menu. Enter the module description in the appearing dialog. "Module Name" is the filename under wich the module is saved later, "Module Label" is the label on the module symbol.
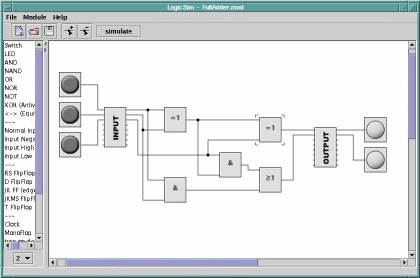
After pressing the "Use" button an "input" and an "output" circuit will appear. These represent the module in/outputs. Connect your circuit to them. You can connect Switches to the "INPUT" and LED's to the "OUTPUT" element to test the module.
After saving the module using the save button, it will appear in the circuits list and can be used in a new circuit.
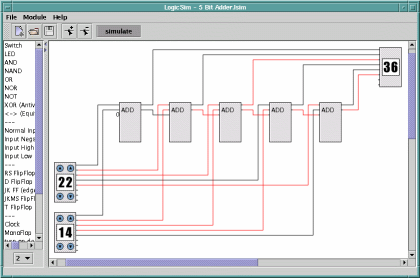
Open "FullAdder.mod" from the "modules" directory for an example. This module is used in the "5 Bit Adder.lsim" circuit.

